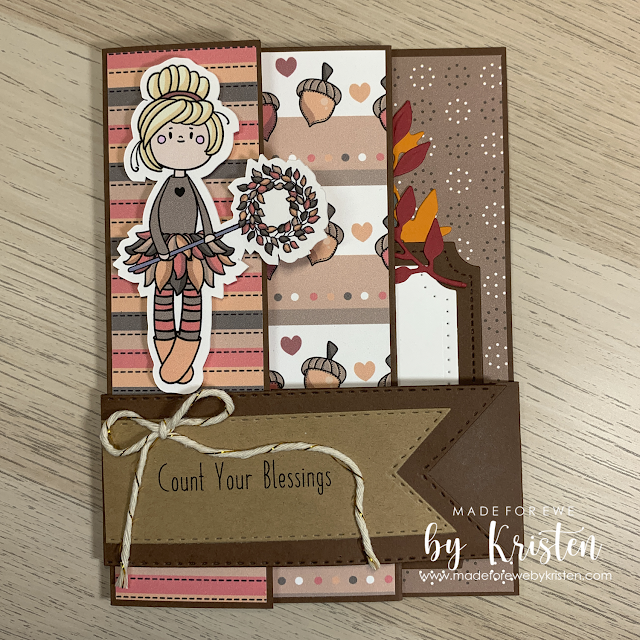
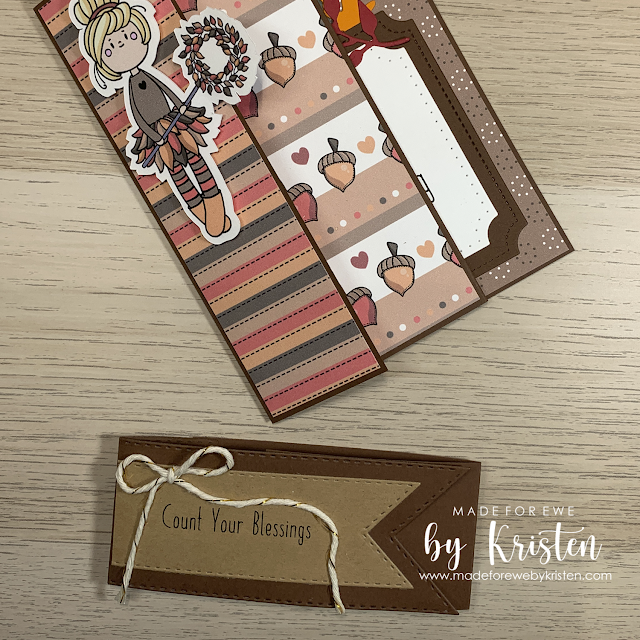
I hope you all enjoyed your Thanksgiving, and you are looking forward to the start of the holiday season. This week I am sharing two cards using the same papers and theme, Count Your Blessings. Despite how difficult this year has been, I find it essential to focus on my greatest blessings such as family and friends.
While designing, I thought a bit of whimsy was needed to balance out the harshness of the year. I immediately knew I had found the foundation of my card when I came across this digital paper by YupiYeiGraphics. Add a pair of wings to this sweet little girl, and you have the perfect Autumn fairy, wand included.
The only panel you need to decorate front and back is the first section. However, I prefer to decorate each panel on the front and back. I think it gives the card a more finished look. You will need (4) different papers in the following sizes:
- (2) 1 1/2" x 5 3/8"
- (2) 2 3/4" x 5 3/8"
- (2) 2 1/2" x 5 3/8"
- (2) 3 3/4" x 5 3/8"
On the final panel, I used a square, notched die set for a layered look. I printed all of my sentiments on my computer using the font, Paper Daisy, which I thought went well with my whimsical fairy. I then added a few sprigs of fall foliage using some Tim Holtz dies. I was in a bit of a hurry as I created my template, otherwise, I would have taken the time to add a little shading to the leaves.
The second card I am sharing is a more traditional A2 design.
The size is 4.25" x 5.5" (a half sheet of 8.5" x 11"). The cardstock mats are cut as follows:
(1) 1 1/2" 5 3/8"
(1) 4 1/16" x 5 3/8"
(1) 4 1/16" x 5 3/8" for the white insert
I cut the stitched heart using a die I purchased from Amazon. To cut the sticker, I used my Brother Scan N Cut. However, it can also be fussy cut. When I applied it, I used foam dots to give it a little dimension. I used the same font for both cards, Paper Daisy.
I wanted my sentiment to be light and fun. Since I did not have a sentiment stamp that I liked, I decided to create my own.
Bring on the turkey
and the dressing,
It's time to count
our Thanksgiving blessings!
Since I was making multiple cards, I purposely kept the card sweet and simple. The important thing was to let our family know that we are thinking of them since we cannot gather this year. It is also a reminder that despite the difficulties we all faced this past year, we still have blessings to count.
Thank you for joining me this week.


Post a Comment